
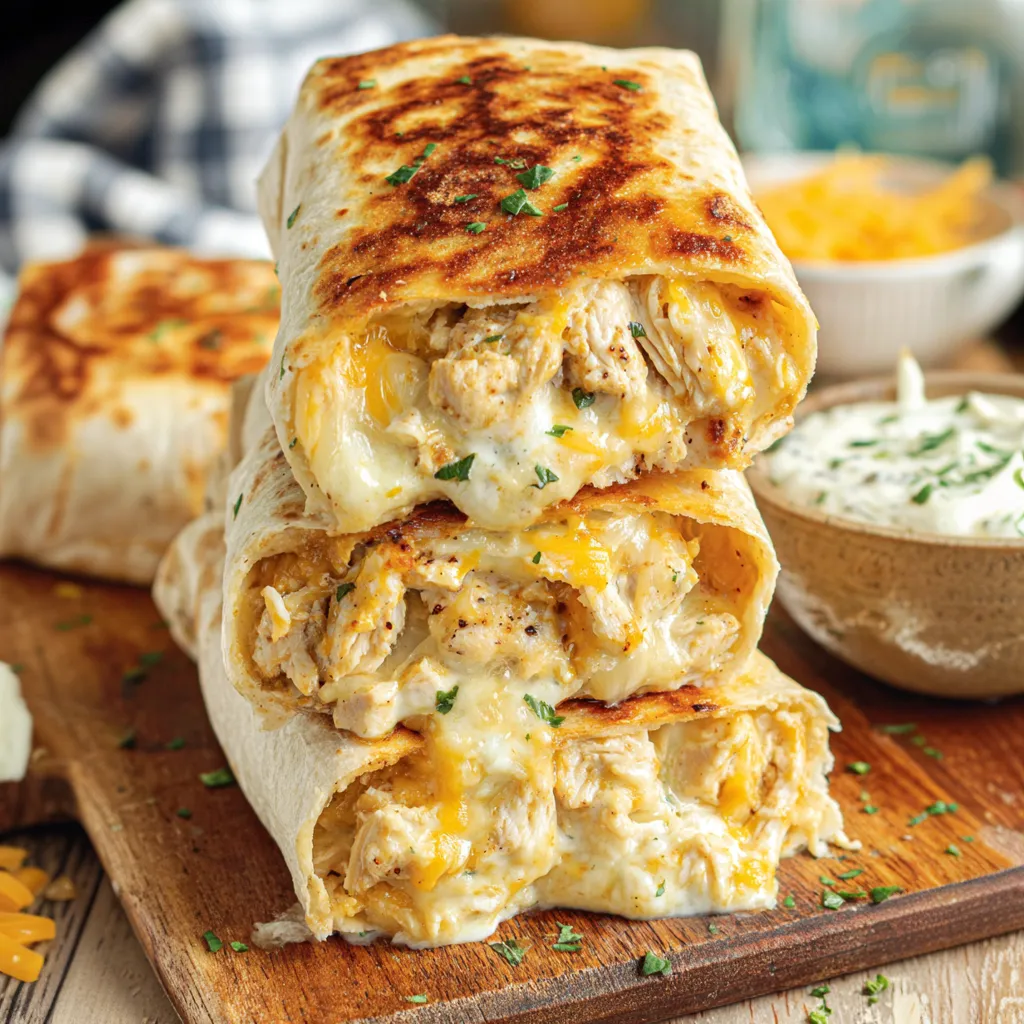
Cheesy Garlic Chicken Wraps
I first whipped these up when I had leftover rotisserie chicken and since then I find myself craving the cheesy garlic flavor combo all the time. Even my pickiest eater goes back for seconds.
Ingredients
- Flour tortillas: regular or high-protein these hold the filling and crisp beautifully look for ones that feel soft and pliable
- Cooked chicken: rotisserie makes this extra easy go for juicy well-seasoned meat
- Fresh garlic: brings that big garlicky punch mince it finely so it blends into the mix
- Light mayonnaise: creamy and tangy without being too heavy check labels for no weird aftertaste
- Light Greek yogurt or plain yogurt: adds extra creaminess and a little tang look for thick texture
- Hot sauce: something tangy and not too sweet Frank’s works well just use what you love
- Sea salt: helps all the other flavors shine
- Grated cheese: cheddar or a blend for maximum melty goodness pick cheese that melts smoothly
- Green onion: adds a mild bite and freshness select crisp green stalks
- Olive oil spray: gives a golden finish without heavy greasiness choose a spray with minimal ingredients
Step-by-Step Instructions
- Make the Chicken Mixture:
- In a mixing bowl combine chopped cooked chicken garlic mayonnaise yogurt hot sauce and salt. Mix thoroughly to coat every piece ensuring no dry spots. The garlic should be distributed so every bite is flavorful.
- Layer the Tortilla:
- Lay a tortilla flat on your work surface. On the lower third scatter cheese then spoon on the chicken mixture keeping to a compact line. Sprinkle on extra cheese and a handful of green onion for layers of flavor.
- Roll the Wrap:
- Fold the sides of the tortilla inward over the filling. Starting from the bottom tightly roll up the tortilla to encase the filling so nothing falls out when cooking.
- Crisp in the Pan:
- Heat a non-stick skillet over medium-high and mist with olive oil spray. Place wraps seam-side down and cook until crisp and golden three to four minutes per side. Cover the pan with a lid midway through to help the insides heat through and cheese melt.
- Slice and Serve:
- Transfer crispy wraps to a cutting board let cool briefly then slice diagonally. Serve up while hot for that perfect cheese pull moment.
Storage Tips
Wrap leftovers tightly in foil or an airtight container and chill up to two days. Pop them in a hot skillet or air fryer to restore that crispy shell. The filling itself holds up well in the freezer for up to a month just thaw in the fridge before using.
Ingredient Substitutions
Swap in rotisserie turkey or even shredded cooked tofu for a different protein boost. If you like it extra spicy try chipotle hot sauce. Vegan mayonnaise and shredded dairy-free cheese will keep these wraps accessible for everyone.
Serving Suggestions
Pair these wraps with a chopped crunchy salad or roasted veggies for a colorful plate. Offer pickles salsa or even a little ranch for dipping. If you are having friends over a platter of wraps with chips and lots of sides makes for a casual fun meal.
Cultural Note
While you will not find these exact wraps in traditional cuisines they draw on quick American comfort meals that make the most of leftovers and fridge staples. The combination of garlic cheese and crispy textures is universally appealing and always feels a bit like a treat even though it is homemade.
Recipe FAQs
- → Can I use rotisserie chicken for the filling?
- Absolutely! Rotisserie chicken works beautifully and saves time, delivering tender, seasoned meat.
- → What’s the best way to reheat the wraps?
- For maximum crispiness, reheat in a skillet or air fryer rather than the microwave.
- → Is it possible to make ahead?
- You can prepare the chicken filling 2–3 days ahead and chill. Assemble and cook just before serving.
- → Can these be baked instead of pan-fried?
- Yes, bake at 400°F (200°C) for 10–12 minutes, flipping once. They’ll be crispier if cooked in a pan or air fryer.
- → Are there lower calorie options?
- Try using light cheese and yogurt, and opt for low-carb tortillas for a lighter version.
- → What sides pair well with these wraps?
- These go well with crunchy salads, roasted veggies, pickles, or salsa for dipping.